It all starts with a tag. When a dairy calf is born, an eartag is the best means of identifying and tracking that animal throughout its lifetime.

In today’s highly segmented industry, electronic identification (EID) tags help track calves from hutch to the home dairy. These tools help maintain and verify animal identity from calf raising to the milking string and also enable convenient recordkeeping that is essential for modern management.
Although eartagging, either with visual tags or EID, is routine in calf care, it is worthwhile to ensure that the dairy workforce is up to speed on how to perform this key task. Using the right techniques makes tagging easier on the calf as well as on the caregiver.
The best time to apply an eartag is while the calf is being processed after birth, before being transported to an individual pen or hutch. This timing ensures accurate dam information is recorded along with the identification number. While applying eartags, it’s also a good time to take tissue samples for genomic screening and bovine viral diarrhea (BVD) diagnostics.
First, be sure to keep enough tags and applicators on hand to handle several months of calf births expected on the dairy. When ordering additional tagging equipment, allow ample time for delivery in case of shipping delays.
Next, create an efficient and safe workstation for staff, ensuring tagging equipment is in readiness and calves can be handled quickly and efficiently to minimize stress. Use proper hygiene to prevent spread of bacteria and viruses, such as bovine papillomavirus or bovine leucosis, from calf to calf. To prevent infection, hand washing and using gloves for tagging, cleaning the tagger with alcohol or other disinfectant, and placing equipment on a hygienic surface will minimize transmission of unhealthy microbes.
Taggers should be kept in good working order with extras on hand. An old and rusty tag applicator may be difficult to squeeze or make a loud noise that could startle the calf. New, lightweight, ergonomic applicators are more comfortable, both for the calf and for the person doing the tagging.
Train workers on manufacturer’s instructions for loading the tag, pin and button into the applicator. A common mistake is applying the tag backward, so double-check to ensure staff know how to load the tag properly into the applicator before catching the calf.
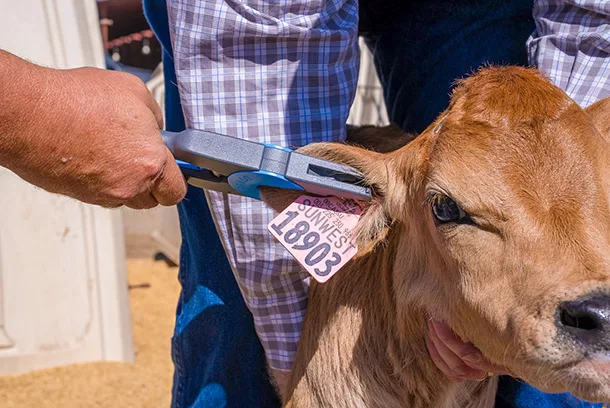
During tagging, approach the calf slowly and calmly. Gently position the calf’s head to allow access to the ears. Often the best way is to position the calf with its head between your legs, facing your head in the same direction as the calf’s. Make sure the ear is clean, and clear away any debris or hair.
It’s important to place tags properly in the ears to prevent unnecessary pain. A calf’s ear has two large veins running parallel to each other from the head to the tip of the ear. Avoid piercing these veins to prevent bleeding. Also, avoid the cartilage ridges in the middle of the ear. If the eartag goes through these ridges, it could cause infection or deform the ear.
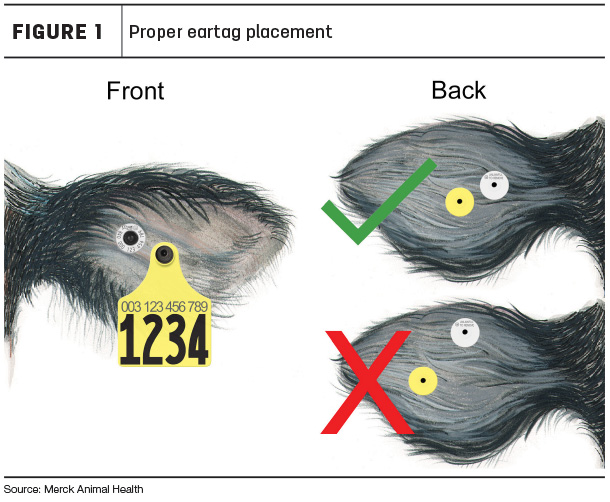
Insert the tag in the middle one-third of the ear. Tags that are applied too close to the tip of the ear may become snagged and pull out more easily. The part of the ear that is closer to the head has thicker cartilage. Therefore, a tag placed there may not fit properly, pinch the ear and be painful for the animal (see Figure 1).
After application, rotate the tag to make sure it moves freely.
Repeat this process for the other ear. After tagging, keep an eye on the calf for several days and watch for any signs of infection or irritation. In the unlikely event of an infection, remove the tag and consult your veterinarian for treatment advice. Make sure the infection has cleared before reapplying the tag.
Extra attention to proper techniques can ensure quick and comfortable tagging, preventing calf setbacks while supporting your operation’s record-keeping needs.