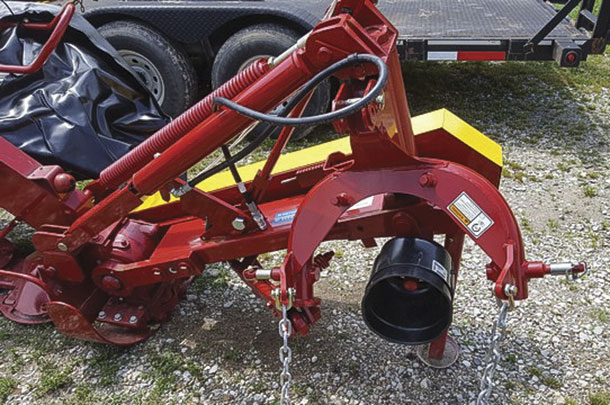
The three-point hitch models mount directly to the tractor or can be mounted on a dedicated caddy. The caddy came into prominence because of the difficulty some people have when installing the disc mower onto the tractor’s three-point hitch. Once the disc mower is mounted on the caddy, the operator only needs to install a hitch pin to be able to connect the disc mower.
I have installed many three-point hitch disc mowers over the years and have fought the fight many have experienced when attaching a three-point hitch disc mower to the tractor. Knowing there must be an easier way, I came up with a procedure to make the job easier. While I deal with one brand of disc mower, the process should work with disc mowers from other companies.
The foremost reason attaching a three-point hitch disc mower can become a difficult job, I have found, is because the tractor is not squared up properly with the disc mower. To correctly place the tractor in relation to the disc mower, I use the lower links of the tractor as a gauge when backing up to the mower. To use the lower links in this way, the lower links must first be placed in a way that guarantees the tractor will be in the best possible position to the disc mower.
The use of stabilizers for the tractor’s lift arms is mandatory for proper operation of a three-point hitch disc mower. The stabilizers limit the lateral movement of the machine to a minimum. Stabilization of the tractor’s lift arms can be accomplished in several ways.
Some tractors use fixed stabilizers, like stay blocks bolted to the drawbar hanger or fixed bars with the holes in the bars corresponding to standard settings for category 1 or category 2 hitches. Adjustable stabilizers can be either adjustable links or adjustable chains. The stabilizers play a role in attaching the disc mower to the tractor.
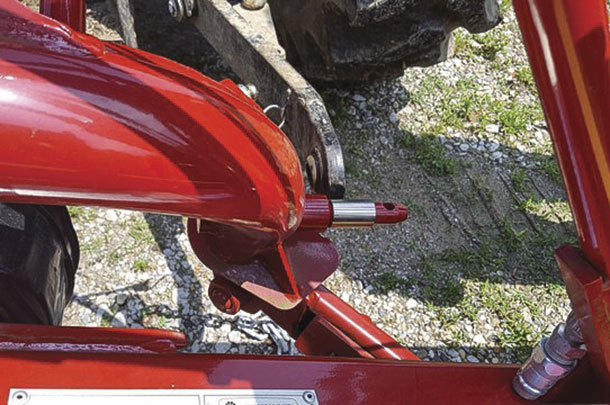
1. My first step in attaching the disc mower is to measure the distance between the shoulders of the two hitch pins of the disc mower.
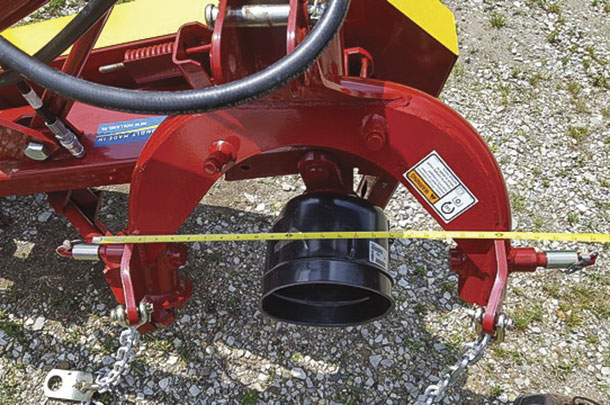
2. On this particular mower the distance was 26.5 inches.
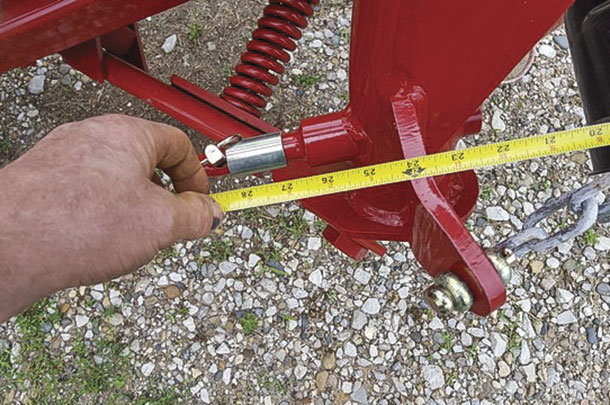
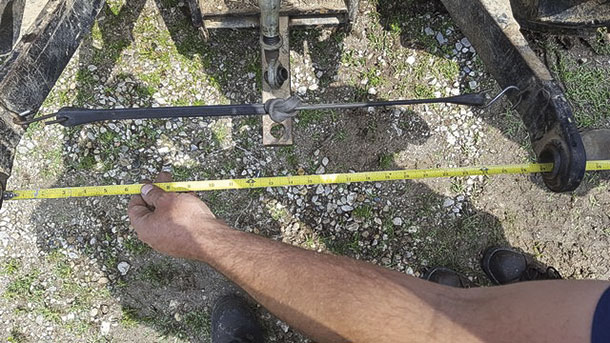
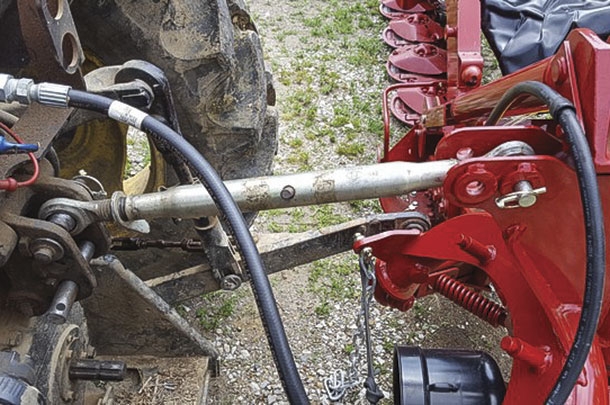
3. Next, adjust the stabilizer links, stay blocks or adjustable stabilizer chains so the distance between the balls of the lift arms is the same as the distance between the disc mower’s hitch pin shoulders. With stay blocks or adjustable stabilizer chains, like this tractor uses, I install a tarp strap between the lower lift arms to hold them together.
When you adjust the stabilizer chains or position the stabilizer links, you also want the lift arms centered on the tractor.
Adjust the vertical links for the lift arms so the lift arm balls are at the same height.
4. If you encounter a situation where one of the disc mower’s hitch pins is lower than the other, you will want to attach the tractor’s lift arm to the lowest disc mower hitch pin first.
5. Back the tractor up to the disc mower, aligning the inside of the lift arm ball with the shoulder of the hitch pin. This should be the disc mower’s lowest hitch pin. Once the lift arm is in position above the hitch pin, you will need to unpin the stabilizer link, or as in this case, remove the tarp strap, so the lift arm can be swung outward.
Lower the lift arms and attach the lift arm to the disc mower. If you are using adjustable stabilizer links, reinstall the pin into the stabilizer link.
6. Next, install the center top link and the hydraulic hose. The last connection to be made is the other lift arm to the second disc mower hitch pin. In this instance, the right hitch pin was lower than the left and connected first, so now the left disc mower hitch pin is above the left lift arm.
To get the left disc mower hitch pin at the right height, slightly raise the three-point hitch and mower an inch or two. Move the tractor’s hydraulic remote control lever (the lever which raises and lowers the cutter bar) to the lower or float position.
The three-point hitch frame should rotate to the left. Depending on the model, you may need to apply your weight at the hitch pin to rotate the frame until the hitch pin is at the same height as the lift arm.
If the left hitch pin was lower, and attached first, then you would use the remote like you are raising the cutter bar so the frame would rotate to the right. If the lift arm is off front to back, I just go to the outer end of the cutter bar and slide the bar one way or the other.
If you have stabilizer links, you could also turn your tractor’s wheels and move the tractor. Moving the tractor does not work as well if you have stay blocks or stabilizer chains (like this tractor) since the mower can move to the side.
Once the disc mower is attached to the tractor, raise the three-point hitch and attach the limit chains and power takeoff drive shaft. Relocate the parking stand and install the pin in the flotation spring assembly if so equipped. ![]()
PHOTOS: Photos provided by Mike Seckinger.
Mike Seckinger has over 44 years of experience as a farm equipment mechanic in southern Indiana and says, “What I write is not intended to represent the only way to solve a problem, and it may not always be complete. If you choose to follow some of my procedures, remember to always practice safety first. Wear the correct clothing and safety equipment, and use the equipment’s safety devices.”