My first welding hood was given to me by a good friend and mentor, Nyal Wadley of Pleasant Grove, Utah. I had enrolled in a welding class and asked him if I could borrow one of his.

He handed me a simple fiberboard hood, which he had painted a fresh black and installed a new darkening glass and clear covers. He said there were other shades of glass, both darker and lighter, but the one he’d put in should be good for most welding.
I thanked him and told him I’d bring it back after the class was finished.
“Like hell you will,” he almost shouted; then he pointed to a spot on his shop wall with four or five other hoods hanging. “Keep it. I’ll never use the thing again,” he said. I’ve still got it, and it was decades before I added another hood.
My brother gave me a hood he thought was neat. It had a bar that was pushed down by my chin when I opened my mouth, lowering the darkened glass for a lighted view of what I was working on. It worked surprisingly well for a “gimmick” hood. The procedure had been to position your work, and when ready to strike an arc, to nod your head abruptly, causing the hood to fall from its open position to cover your face and shield you from the intense light from arc welding.
My next hood had a hinged door that raised the darkening glass. It could still be used in the “tip-head-to-lower” mode but could also be closed with one hand as when striking your arc. With all the fixed-shade lenses, from the moment you closed the lens door or tipped your head to drop the hood, there was a moment of “blindness” until the light from the arc illuminated the point of the weld.
Then, the auto-darkening hoods came on the scene. This wizardry made it possible to look directly at your work, and with the striking of the arc or pressing the trigger of a MIG gun, the lens would automatically darken in a few milliseconds and, as advertised, keep the harmful light from your delicate eyes.
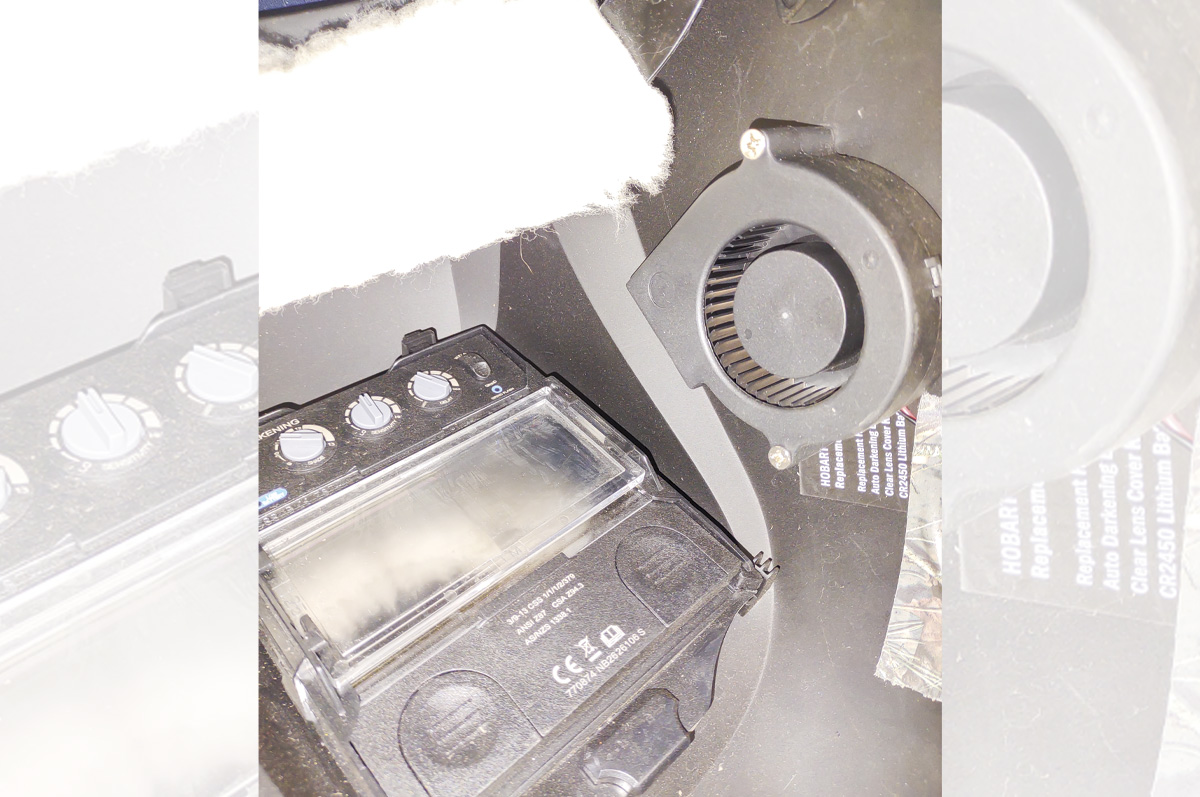
This is the plug for the cord from the battery, which Nelson carries in a jacket pocket. Photo by Brad Nelson.
The auto-darkening hoods were on the scene at least a decade before I tried one. My skinflint nature had me buying a cheap unit to try. That way, if I didn’t like it, I wouldn’t be out much. Thirty-nine dollars, plus tax, if I remember right, and that was about 20 years ago.
The auto-darkening hoods are adjustable for the shade of darkness, sensitivity and delay (both the time to darken and the time to lighten after a welding event). Most have a battery, and some use the battery totally, while others use it for initial lens darkening and then run off solar power or light from the welding arc.
I was not pleased with my first auto-dark unit. I got several years of use out of my second one, a USA-marketed unit that was a midrange price of about $79. Unless there was something weird with the ambient light that interfered with the sensor of the auto-dark unit, I never went back to my previous fixed shade hood.
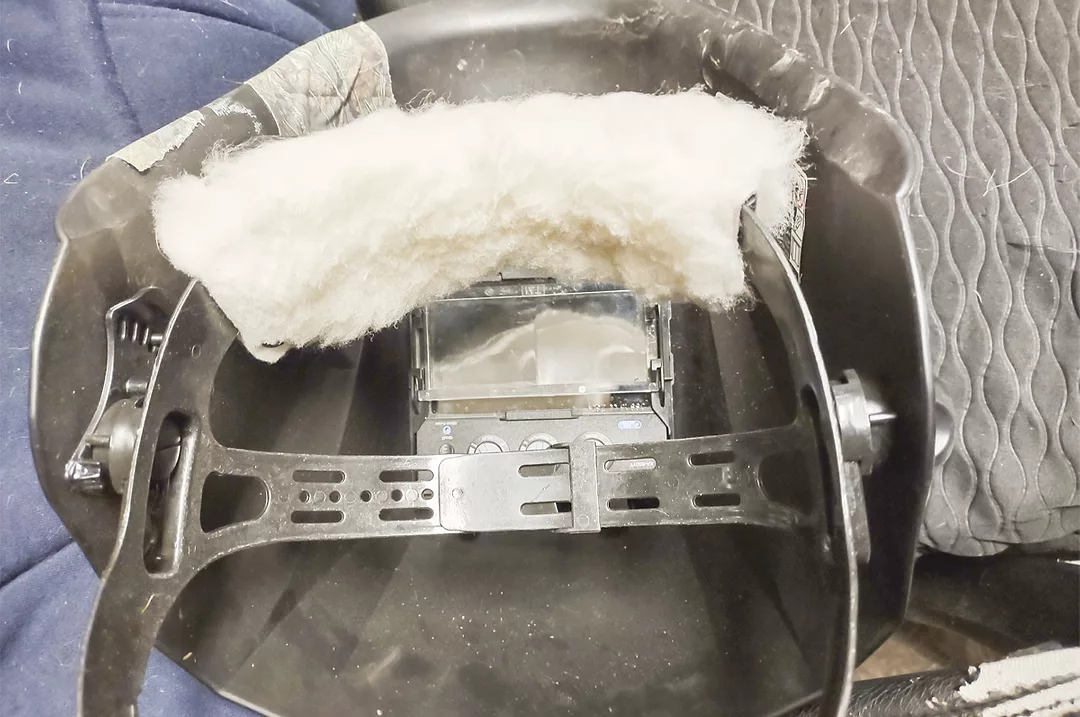
I had a major project that involved working in a semiheated shop. I knew that my glasses and lens fogging would be an issue, so I went to inventor mode. I ordered a tiny squirrel-cage fan that ran on 12 volts. It was marketed as a computer cooling fan. I anchored it inside the welding hood and aimed it to blow across the lens and my glasses.
I ran the wires to the outside of the hood to a mini plug. I mated the plug to its opposite, an on/off switch, with a coiled cord originally from a landline phone to a 12-volt Milwaukee power tool battery, which fit in a pocket. That controlled about 90% of the fogging. It also helped eliminate the fogging to get the hood warm before starting a project in the cold.
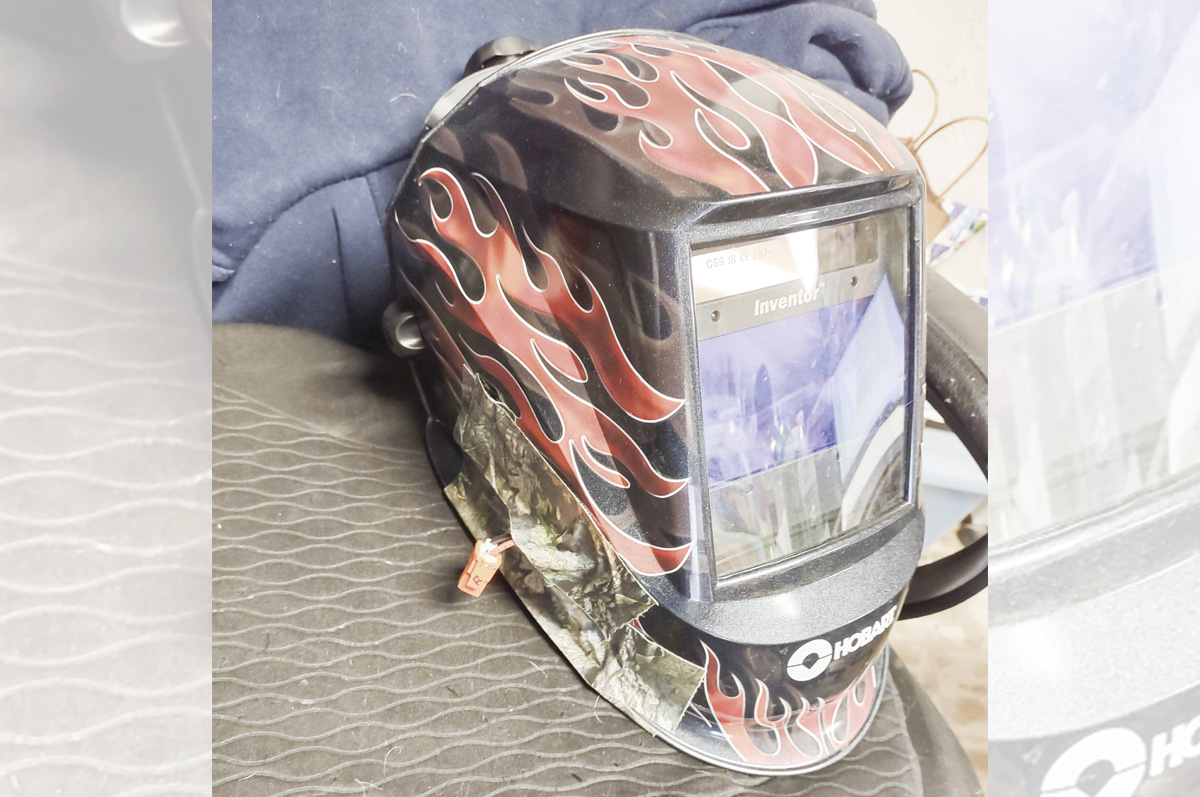
After 10 years of use, the auto-dark stopped working. Prices had inflated, and its replacement was just south of $125. It’s a name brand, with a window larger than the previous, and the auto-darkening technology had improved. I should have opened the box and tried it on because it’s so narrow I have to shed my hearing aids to cancel feedback.
The guys welding outdoors (pipelines, etc.) like a “pancake” hood. Visualize a balsa wood box with a welding lens on one side, with the opposite fitting the contours of your face. A circle or “pancake” of lightweight material shields the rest of the face, similar to my goggles and shield. They’re welding all day long and the light weight is a factor.
The self-attached blower keeps the lens from fogging. Photo by Brad Nelson.
Here are my recommendations for farm/shop use of occasional repairs and fabrication:
- Don’t try for the least expensive. Stay with a brand that is common or popular in your area. All the welding machine manufacturers also market welding hoods. A midprice range of any of those should be suitable for occasional farm use.
- Ask people who weld what they like and why. See if someone will demonstrate how the hood they prefer works. Ask about the adjustable darkening range, the sensitivity and the delay adjustments.
- Go up at least one size from the smallest lens size. There are auto-darkening hoods with a lens the size of a soup bowl, but they are also more expensive.
- Whatever you get, get a few extra batteries. Nothing like picking up your hood for a rush repair and the batteries are dead.
- A “sheep band” on the front part of the headgear will make an extended welding job much more comfortable. Should be less than $20.
- Try it on before you buy it. Especially if you wear hearing aids or glasses.
- Compare the darkening range, delay and sensitivity.
- Be aware that new welding hoods are available for south of $50 to over $3,000. The expensive ones blow filtered air over your face and deal with fumes and fog.